


Don't Miss a Thing!
Get the latest articles, recipes, and more, when you sign up for the tasteforlife.com newsletter.
Trending Topics
Hot Product
Bucklebury Zeolite Liquid Suspension with Chlorella
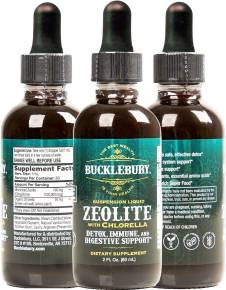
Zeolite Suspension Liquid contains Chlorella and offers detox support along with providing for the immune system and digestive tract health.