


Don't Miss a Thing!
Get the latest articles, recipes, and more, when you sign up for the tasteforlife.com newsletter.
Trending Topics
Hot Product
Essential Formulas Dr. Ohhira's Probiotics
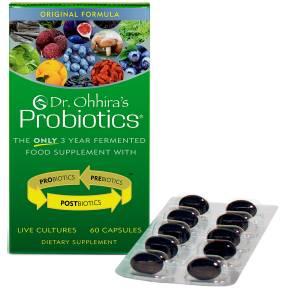
Dr. Ohhira's Probiotics - the only 3-year fermented food supplement - provides key benefits from prebiotics, probiotics and all-importand postbiotics to promote optimal overall health.