


Don't Miss a Thing!
Get the latest articles, recipes, and more, when you sign up for the tasteforlife.com newsletter.
Trending Topics
Hot Product
NOW Sports Barley Rice Protein
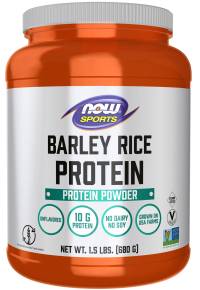
NOW Sports Barley Rice Protein is plant-based and produced through a highly sustainable "upcycling" process. It dissolves well in any liquid and has a smooth consistency with no bitter aftertaste.